
There are many cheap speedlight mounting options on the market. I switched over to S-type bowens mounts from the B type hot shoe mounts some time back for reasons I wont go into here but we still have to mount them to our stands. Now I haven’t blogged my Pergola cube studio yet, a project I started back in 2019 during lockdown. I ‘ve also made a number of adjustments since and hope to get around to blogging that later. But for the purposes here I have 25mm pipe around the roof outline of the studio and use it to hang lights n things from it. This saves a good deal of precious real estate that would otherwise be gobbled up by stand legs.

Initially I used these cheap C clamps to attach to stands rather than the arm spigots because it allowed me to place the light anywhere on the stand instead of just on its end. However the love affair did not last long. The C clamps often would not hold a grip and they started to mark the stands. I switched over to super clamps. In the meantime the old C types collected dust in a box. Last weekend during a shoot I was one clamp short(always the way isn’t it?) so unearthed the Cs. It got me out of a jam and I decided to have a closer look at why they fail.
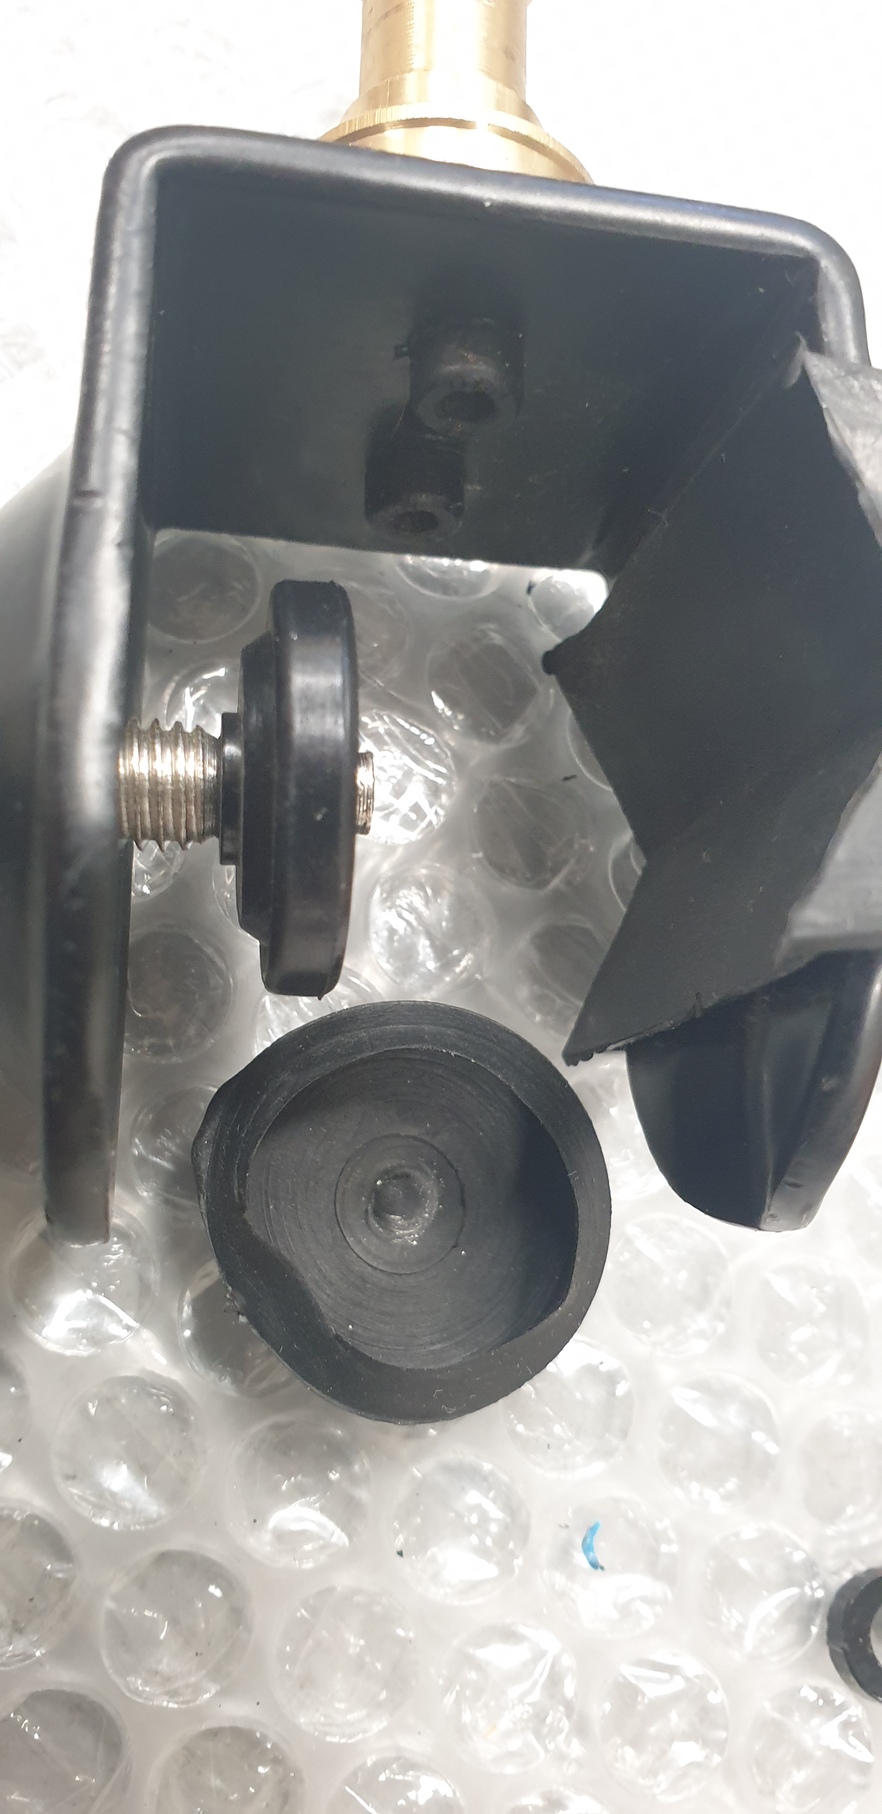
With a big footprint on the “v” part of the clamp I looked elsewhere to discover why they slipped. The circular foot that screws in was one of the two main problems.

As shown, the foot has a thin rubber like push on cover which sits over a plastic disc and the the screw bolt can push through all this! We now have a small end of metal in direct contact with the stand, pipe, whatever instead of a nice rubber foot. Small contact no grip and it also has a very big disadvantage of leaving scratch n chew marks behind.
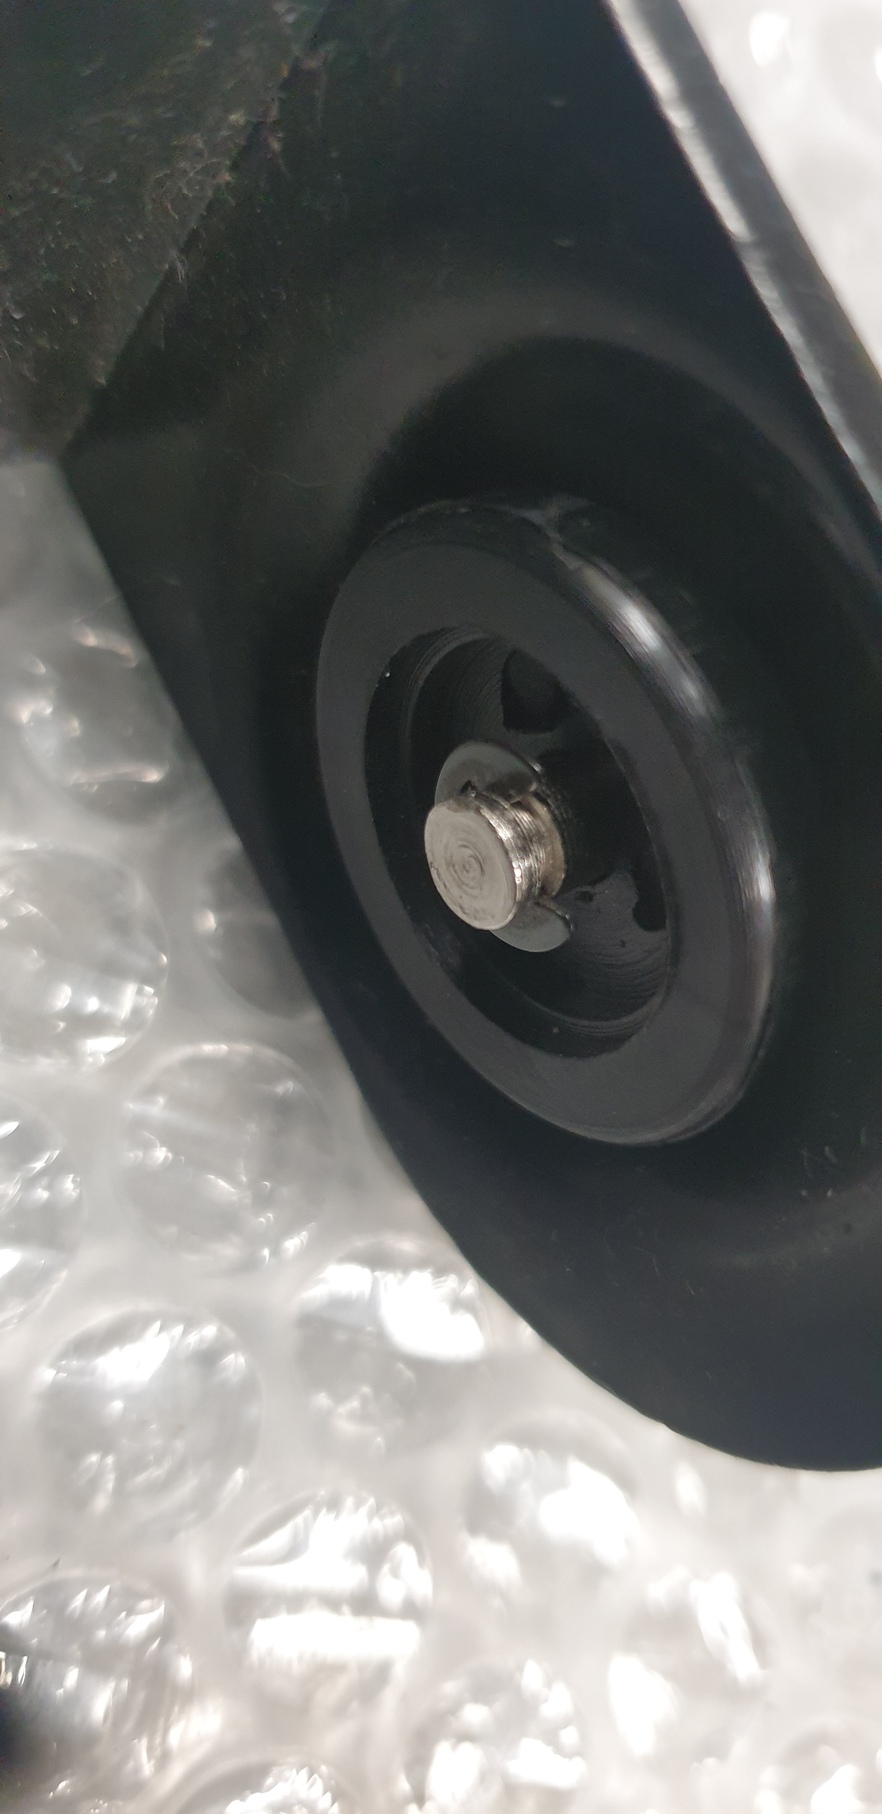
Now I have one of these C clamps that does not do this and its because the shaft distance between the collar or thread and the disc ie the neck, is much shorter. In the image below you can see the neck of the shaft protrudes past the end of the cap.
We need to make a spacer to push the cap further up the neck so the end of the bolt does not sit proud of the disc, well not by much.My solution was to make a spacer washer from ABS. It really doesn’t matter what it is so long as its reasonably tuff. Mine were 3mm thick. You can’t go much thicker because there wont be enough clearance to put the circlip back on…oh Im getting ahead of myself here.
To remove the cap we need to pull off the circlip. Note taking it off is easier than putting them on. To Get to the circlip you will need to pull off the rubber boot. Its pretty straight forward really
Now we are left with putting on the spacer and then the cap, circlip and rubber boot.

spacer 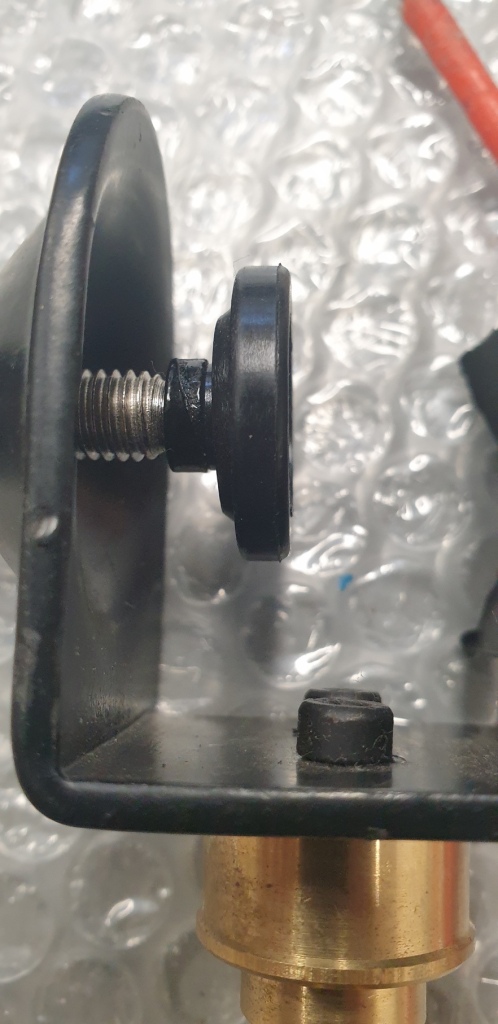
The spacer now puts the end of the cap level with the shaft.


We have our clamp back together but there is on last thing. Go back one and just before you put the boot on Notice I have added a nylon, mylar or hey a washer made from an ice cream container lid will do, circle that sits between the metal shaft end and rubber boot.

Help spread the load and removes direct contact between the metal and the rubber.
We can now apply some decent compression and really grip the bar, stand, pipe. Our only deficiency now is the clamp metal itself will bend and spread itself wider if you try too many turns. There is not much we can do about this. But really anything that is causing that much torque(to spin this around the bar) should probably be mounted in a different way. Its still a cheap clamp, I still prefer super clamps but we have given them a new lease on life.
